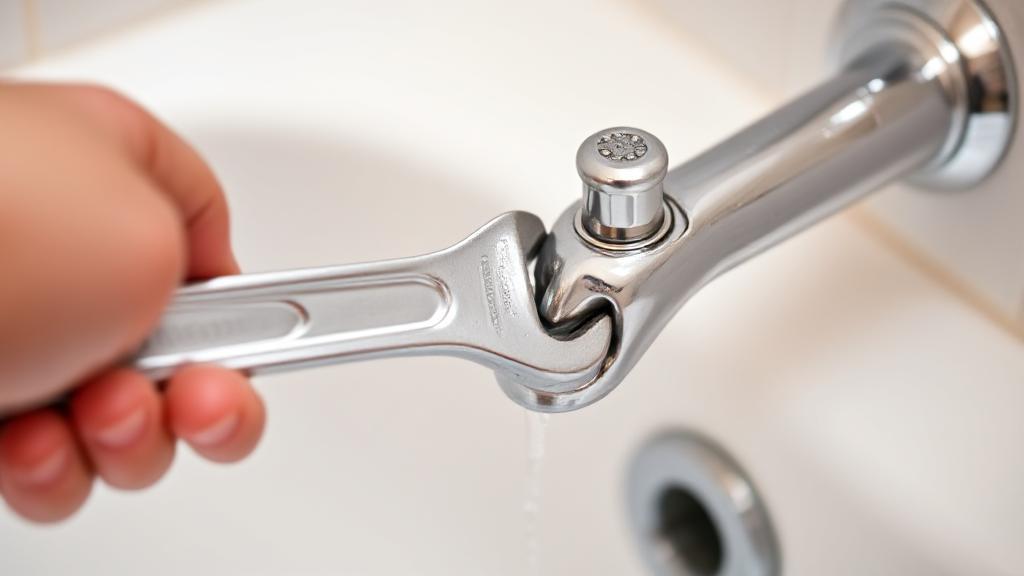
Tools and Materials Needed
Before starting the repair, gather these essential items:
- Adjustable wrench
- Phillips and flathead screwdrivers
- Replacement parts (washers, O-rings, or cartridge)
- Plumber's tape
- Plumber's grease
- Clean rags
- White vinegar
- Allen wrench (if needed)
- Penetrating oil (optional)
Preparation Steps
- Turn off the water supply to your bathtub (usually at the main water valve)
- Cover the drain with a rag to prevent losing small parts
- Remove any decorative caps on the faucet handles
Diagnosing the Problem
Before starting repairs, identify your faucet type - most modern faucets use either a cartridge system or traditional compression stems. Detailed diagrams are available on RepairClinic or PlumbingSupply.
Common causes of leaks include:
- Worn rubber washers
- Damaged O-rings
- Corroded valve seats
- Cracked cartridges
- Mineral buildup
Step-by-Step Repair Process
1. Remove the Faucet Handle
- Locate the mounting screw (often hidden under a decorative cap)
- Use a flathead screwdriver to remove the cap
- Unscrew the handle using a Phillips screwdriver or Allen wrench
- Carefully pull off the handle
2. Access the Stem or Cartridge
- Remove the escutcheon plate (decorative plate behind handle)
- Unscrew the packing nut with an adjustable wrench
- Extract the stem or cartridge
- Apply penetrating oil if stuck
3. Replace Damaged Parts
For cartridge faucets:
For compression faucets:
4. Reassemble the Faucet
- Reinsert stem or cartridge
- Tighten the packing nut
- Reattach escutcheon plate and handle
- Turn water supply back on
- Test for leaks
Tips for Success
- Take photos during disassembly
- Organize parts in removal order
- Use plumber's tape on threads
- Don't overtighten components
- Clean all parts thoroughly
- Consider replacing both handles' components
Regular maintenance can prevent future leaks and extend your faucet's life. Consider cleaning mineral deposits annually and replacing washers every few years.
When to Call a Professional
Seek professional help if you encounter:
- Corroded or broken valve seats
- Damaged water supply lines
- Cracked faucet body
- Stripped threads
- Complex shower/tub combination units
For additional guidance, visit DIY Network, This Old House, or The Spruce for detailed tutorials and troubleshooting guides.
