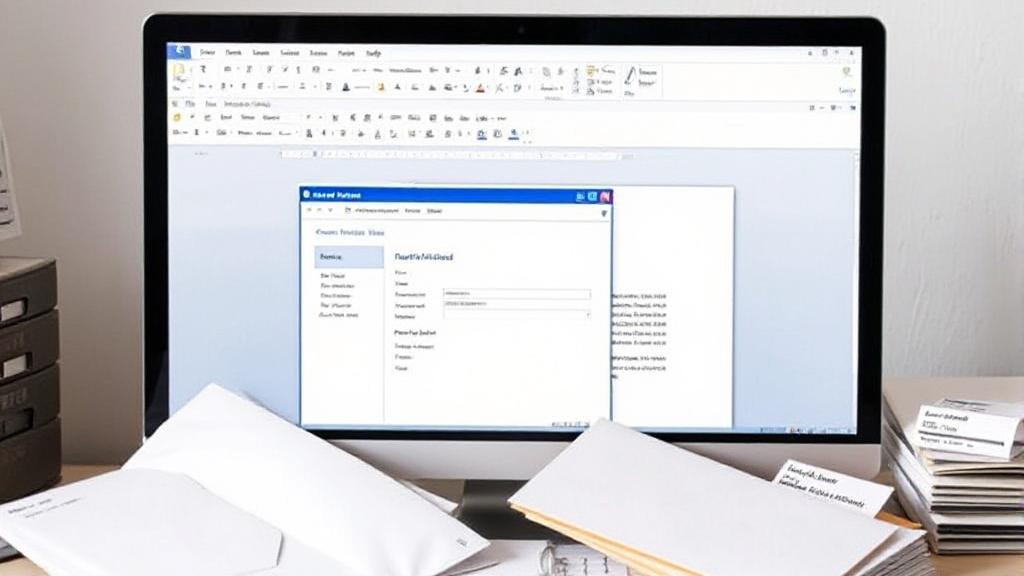
What You Will Need
Before starting a mail merge, ensure you have:
- Microsoft Word: Version 2010 or later that supports mail merge
- Data Source: Excel spreadsheet, Access database, or Outlook contacts
- Template Document: The base document you want to personalize
Preparing Your Documents
Creating Your Main Document
Start by opening Microsoft Word and creating your template document containing:
- Static content that remains the same for all recipients
- Placeholders for personalized information
- Proper formatting and layout
Pro tip: Write your document first with dummy text where the merged fields will go to better visualize the final product.
Setting Up Your Data Source
Your data source should include:
- Clear column headers
- Consistent data formatting
- No blank rows
- Relevant information in each column
Recommended formats: Excel (.xlsx), Access (.accdb), or CSV files
For detailed instructions on creating a data source, visit Microsoft's guide on preparing your data source.
Performing the Mail Merge
Step 1: Start the Mail Merge Process
- Navigate to the
Mailingstab - Click "Start Mail Merge"
- Select your document type (Letters, Emails, Envelopes, Labels, or Directory)
Step 2: Connect to Your Data Source
- Click "Select Recipients" in the Mailings tab
- Choose one of these options:
- Type a New List
- Use an Existing List
- Select from Outlook Contacts
- If using an existing list, browse to your data source and select the appropriate table or range
💡 Ensure all necessary fields are present and correctly formatted before proceeding.
Step 3: Insert Merge Fields
- Position your cursor where you want to insert personalized information
- Click "Insert Merge Field"
- Select the appropriate field from your data source
Example template text:
Step 4: Preview and Complete the Merge
- Click "Preview Results" to see how your merged documents will look
- Use the preview arrows to check different records
- Make any necessary adjustments
- Click "Finish & Merge" and choose how to complete the merge (print, email, etc.)
Troubleshooting Common Issues
Data Format Problems
- Ensure date formats are consistent
- Check for extra spaces
- Verify number formats match
- Remove problematic special characters
Field Mapping Issues
- Click "Match Fields" in the Mailings tab
- Manually map document fields to data source columns
- Save the mapping for future use
Advanced Tips
- Use the "Rules" feature to add conditional logic
- Regularly save your work
- Test with a small subset of records first
- Create backups of your data source
- Use clear naming conventions for merge fields
- Consider inserting pictures, such as logos or signatures
For more detailed information, visit Microsoft's official mail merge guide.
